
Joining Improv Patchwork
a window into my process

Last month I invited my bee mates to make log cabin blocks in any random size. I was delighted to receive a stack of interesting blocks, from little 4” squares to larger 16” creations. Some blocks are square and some are rectangle. But, how does one sew many different-sized blocks together into a quilt top?
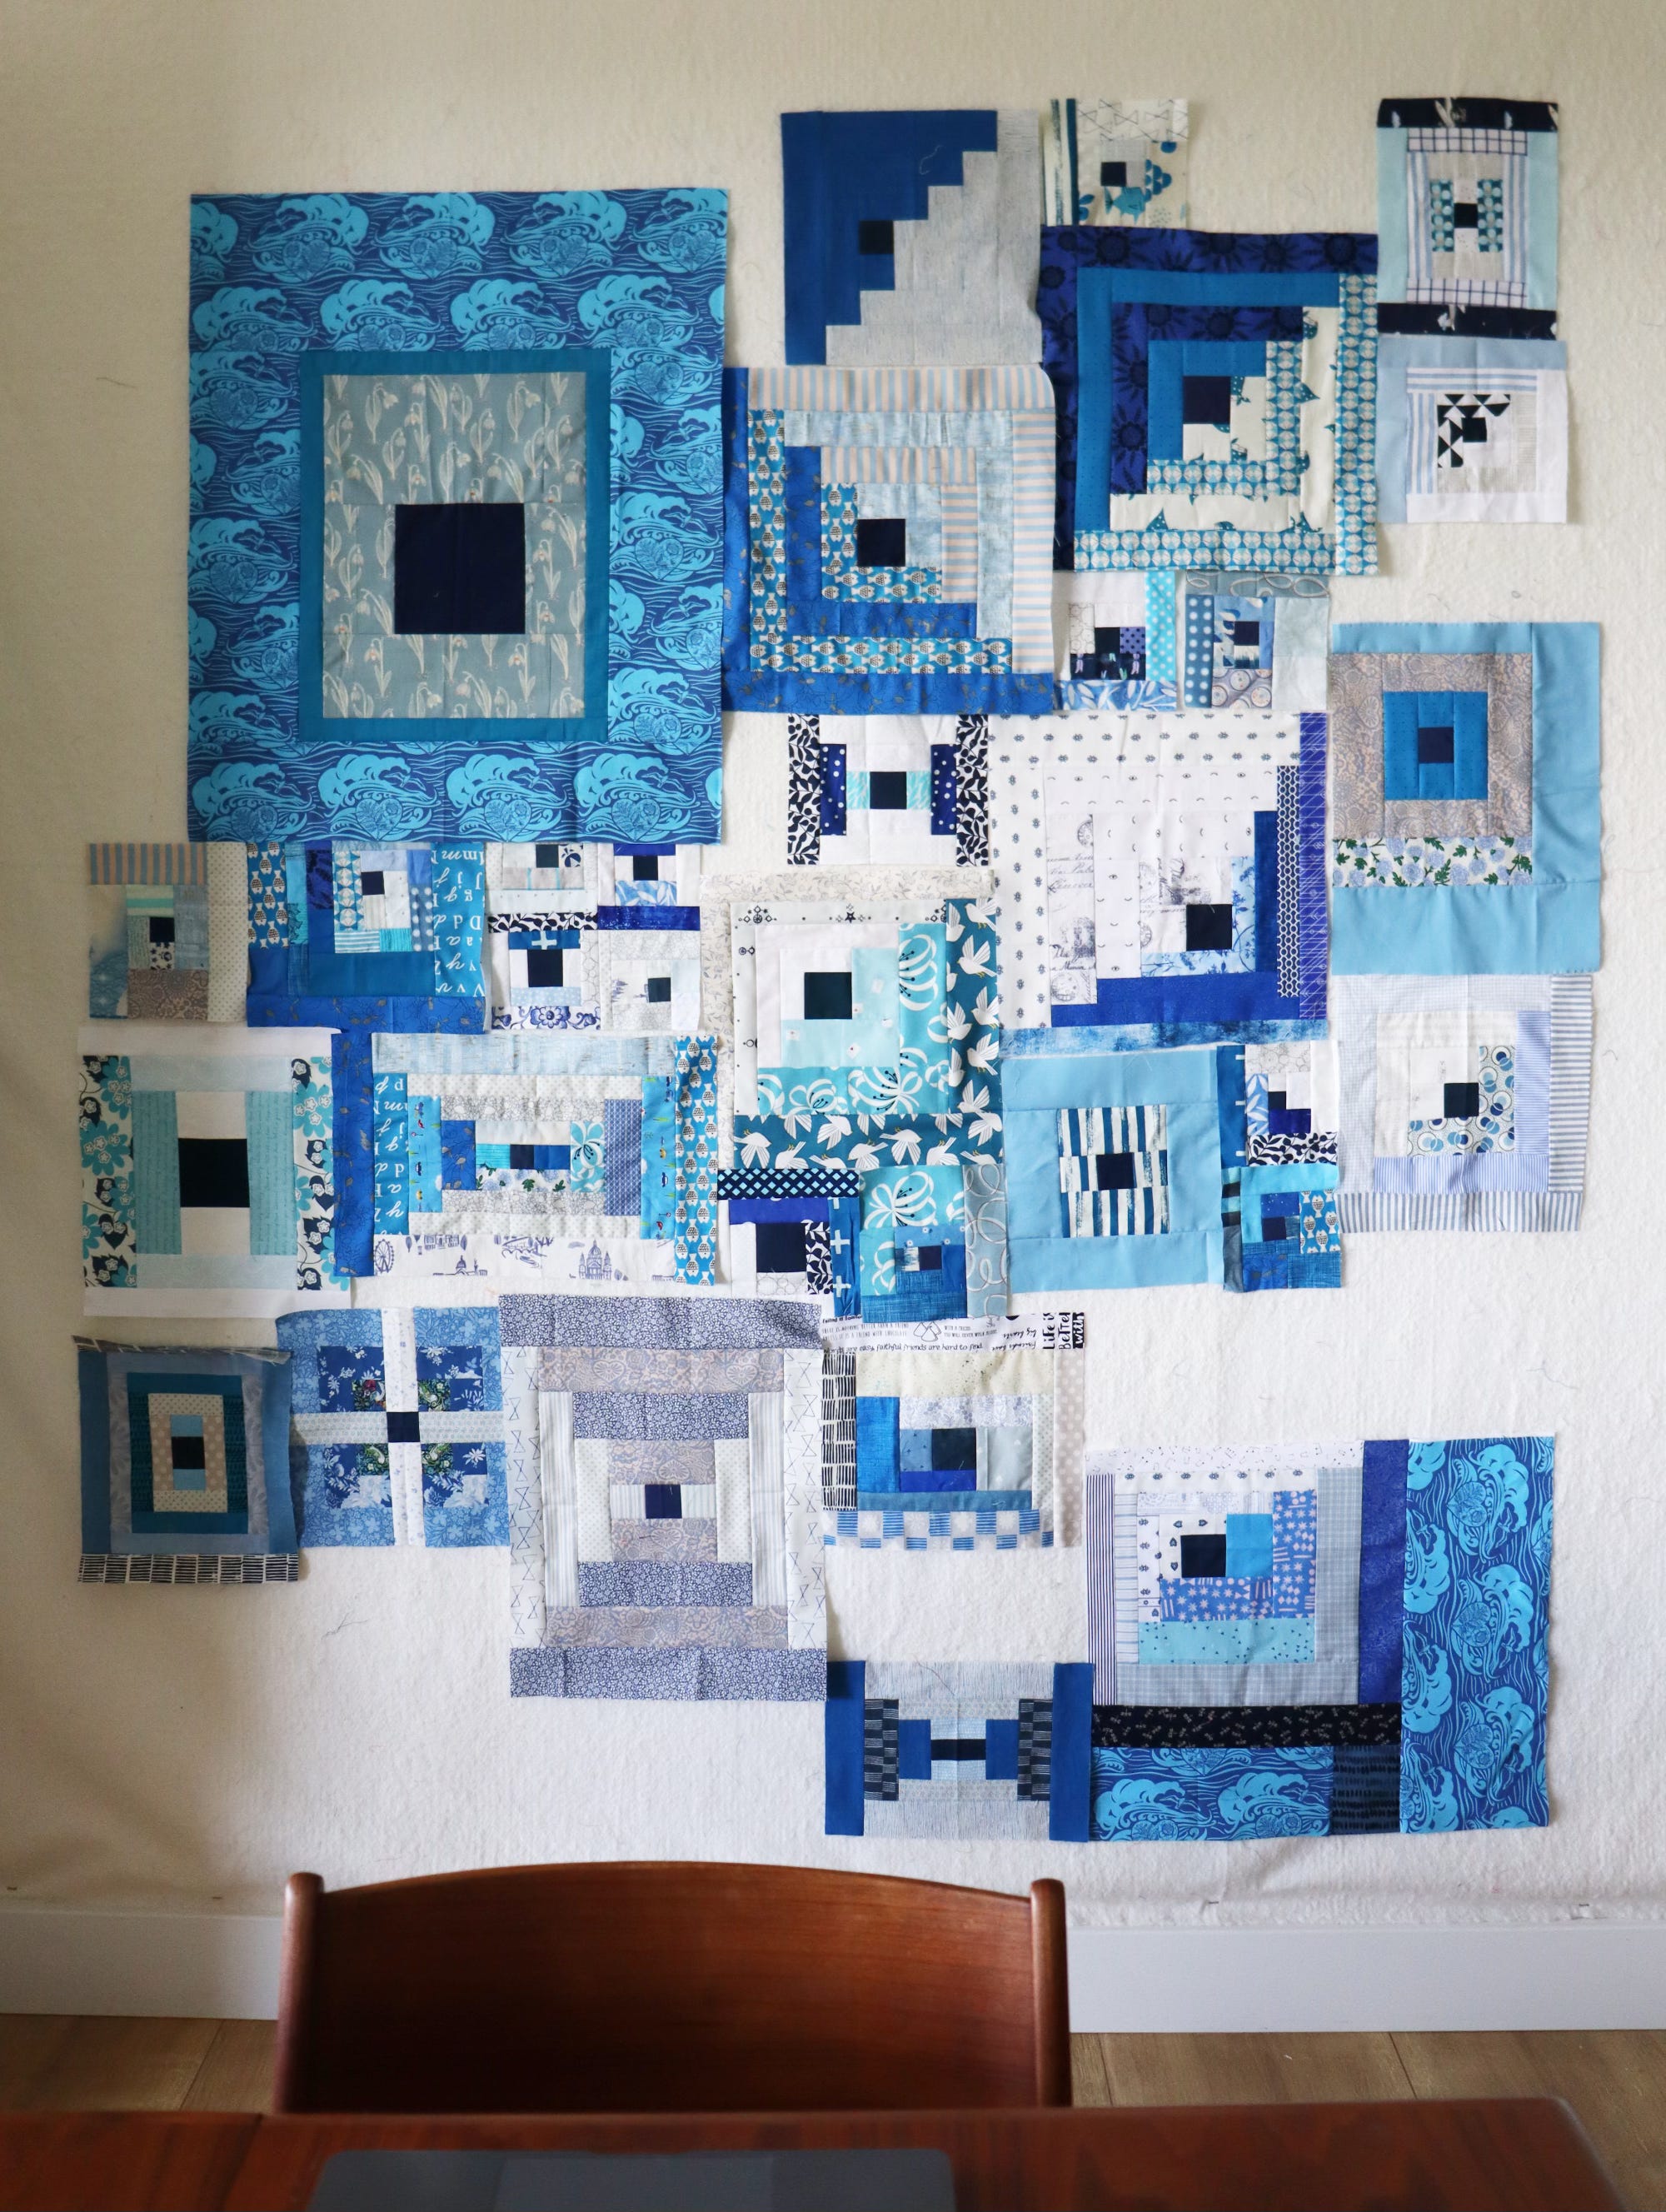
It’s a good question. For me, the process begins when I arrange them on the design wall. As I place blocks, I search for logical connections. Same-sized blocks often get grouped together. When blocks are different sizes, I still align them along one raw edge, so as to create as many possible future shared seams.
Once I am happy with the arrangement of blocks, the next step is joining everything that is already the same size. That only goes so far; then I have to start filling in gaps to equalize pieces.
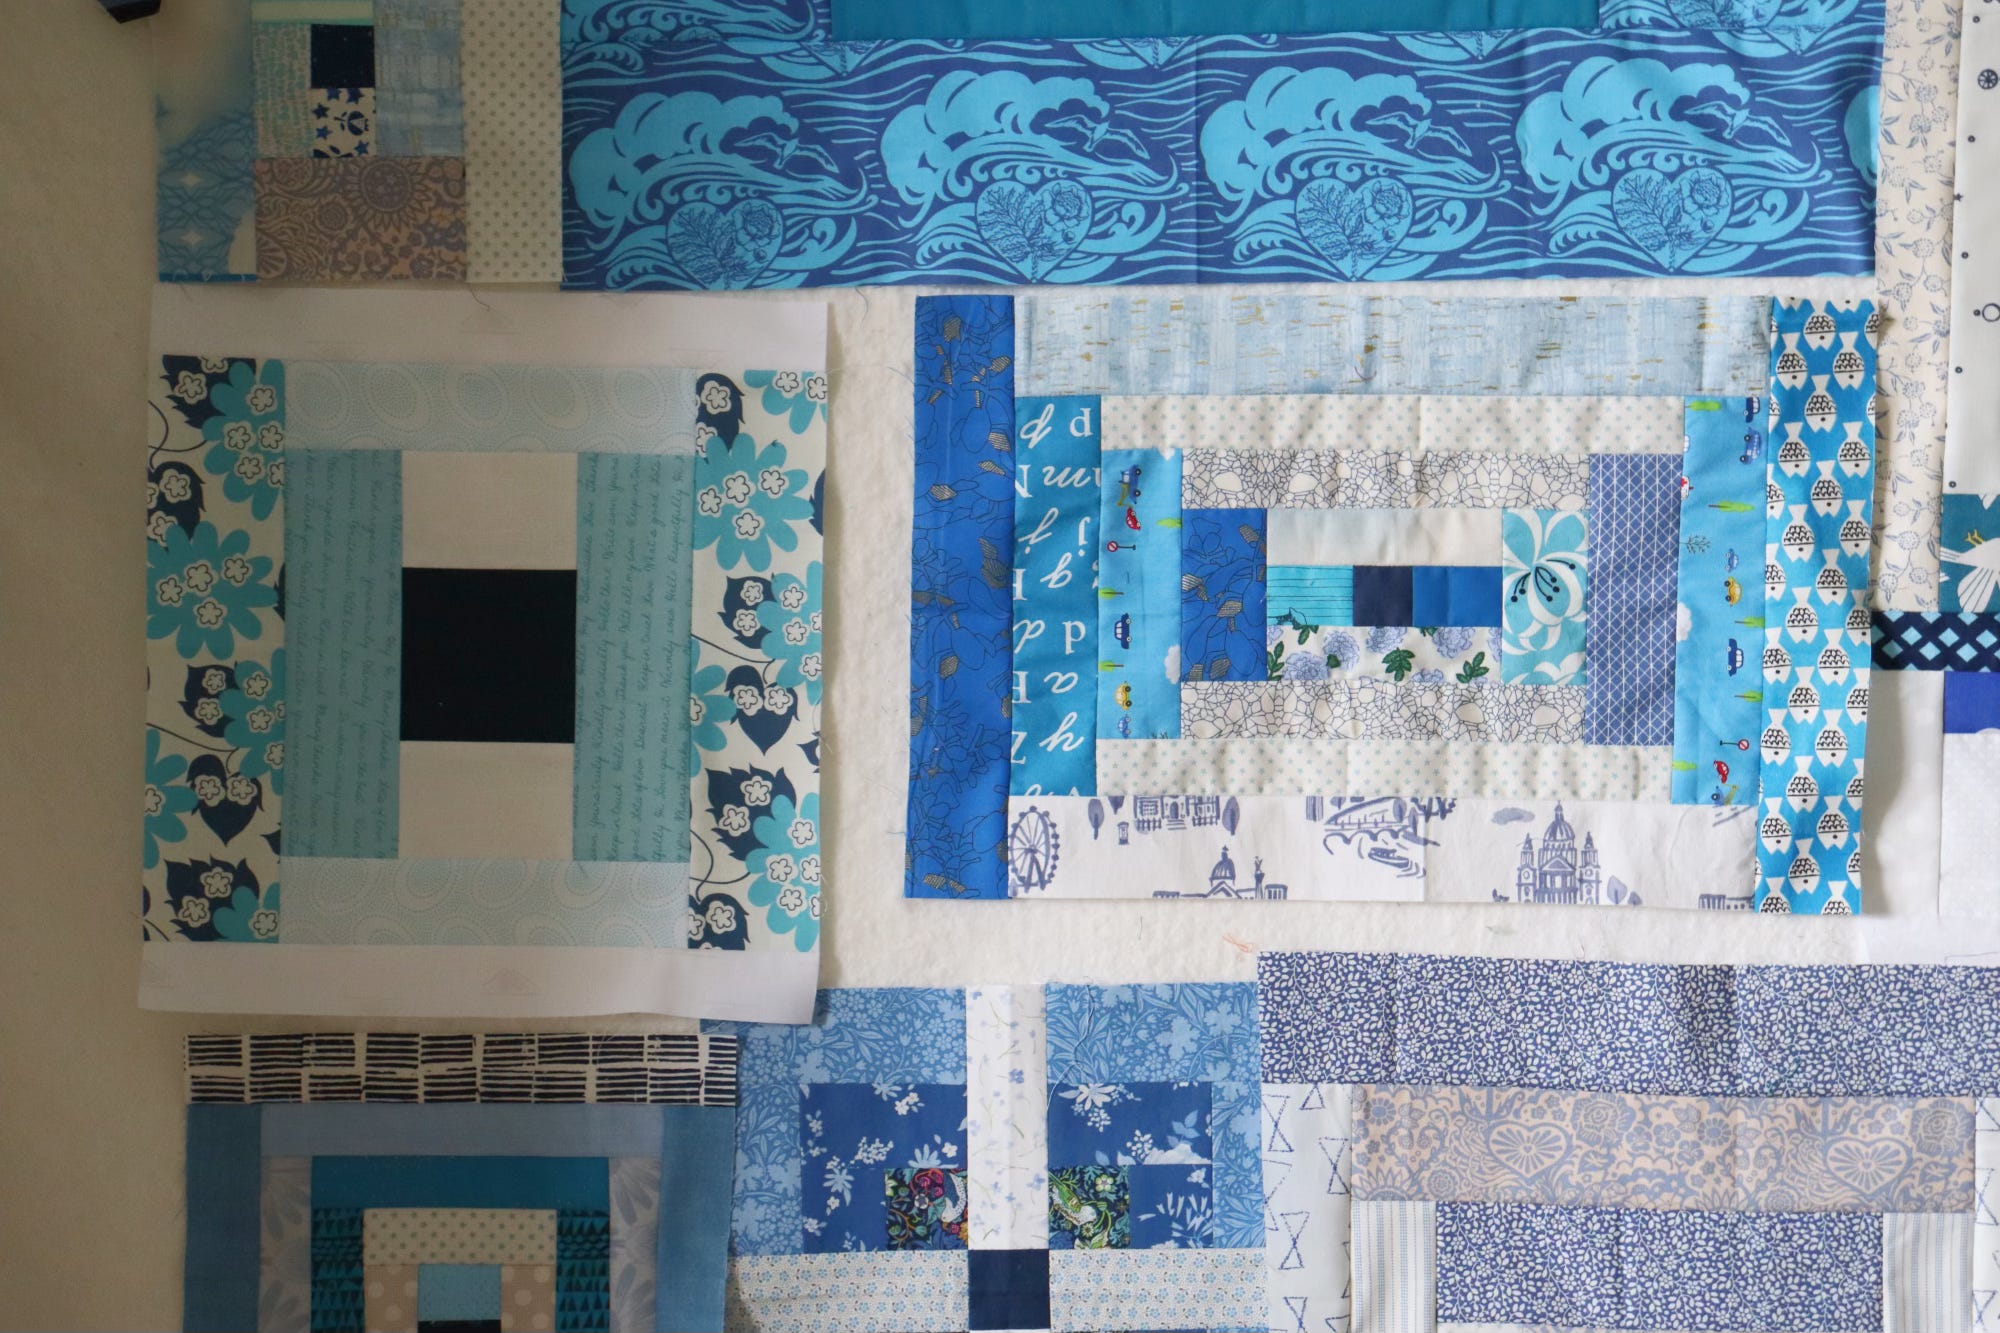
Take these two blocks in the middle of the photograph, for example. On the left is a square courthouse steps block and on the right is a rectangular courthouse steps block. I have aligned the top raw edges. I will need to add fabric under the rectangular block to make it as tall as the square block. I will also need to add fabric between the blocks so that, when joined together, this pair is the same width as the section above.
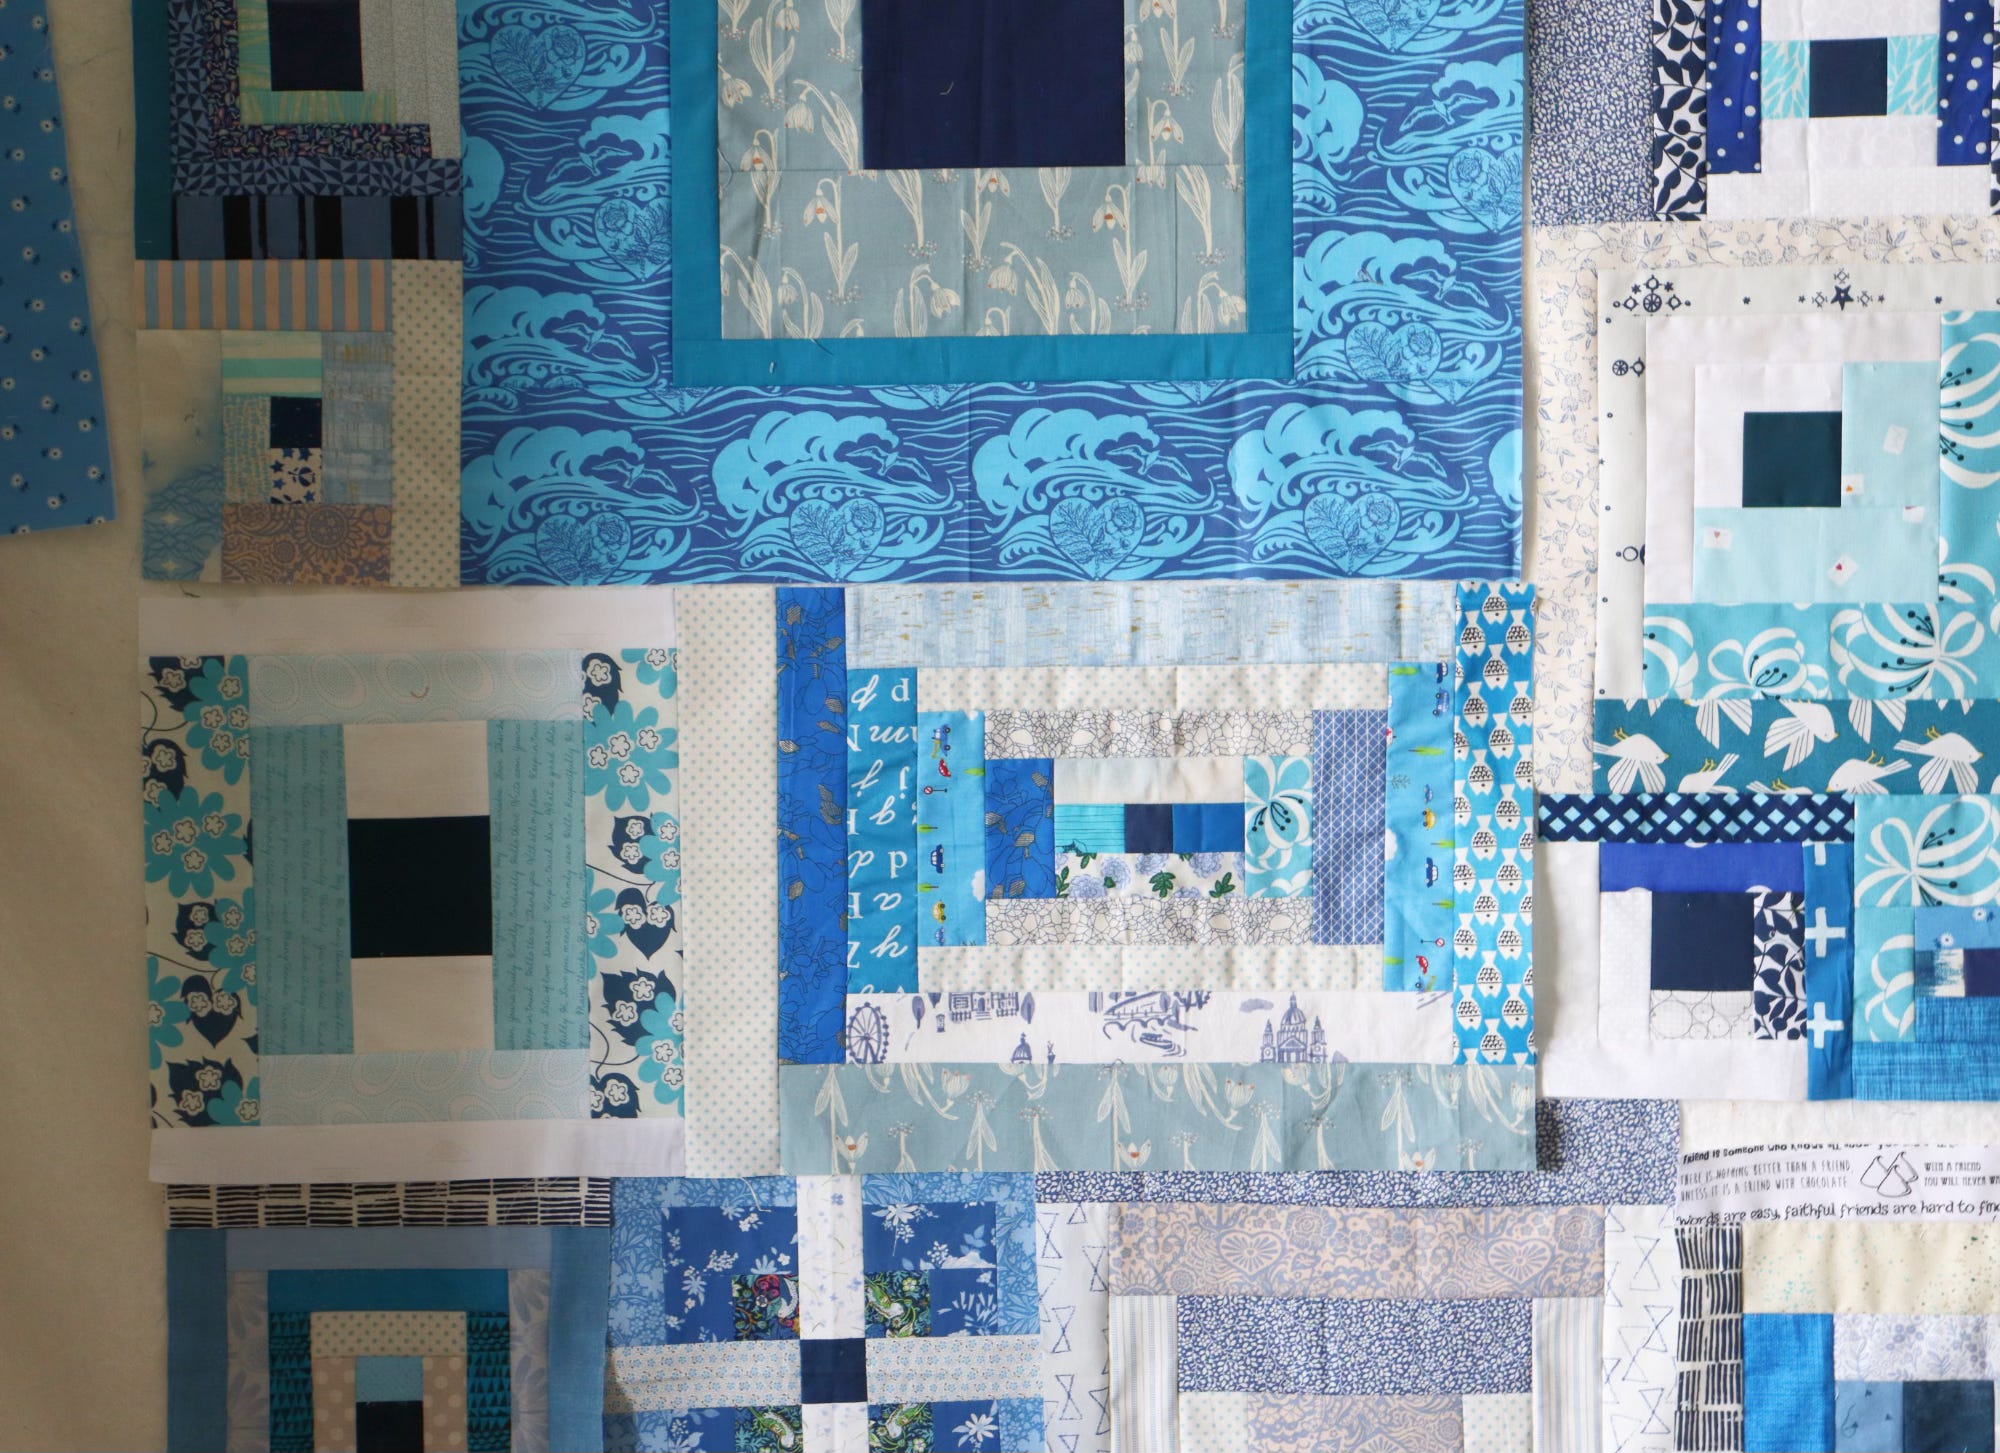
Now I have added those two filler pieces and joined the pair of courthouse steps together. The newly created section is slightly bigger than the section above it, with the blue wave fabric. That’s good. I will join the courthouse steps section to the section above and then trim off excess fabric from the courthouse steps so that the newly-created, larger section has straight raw edges.
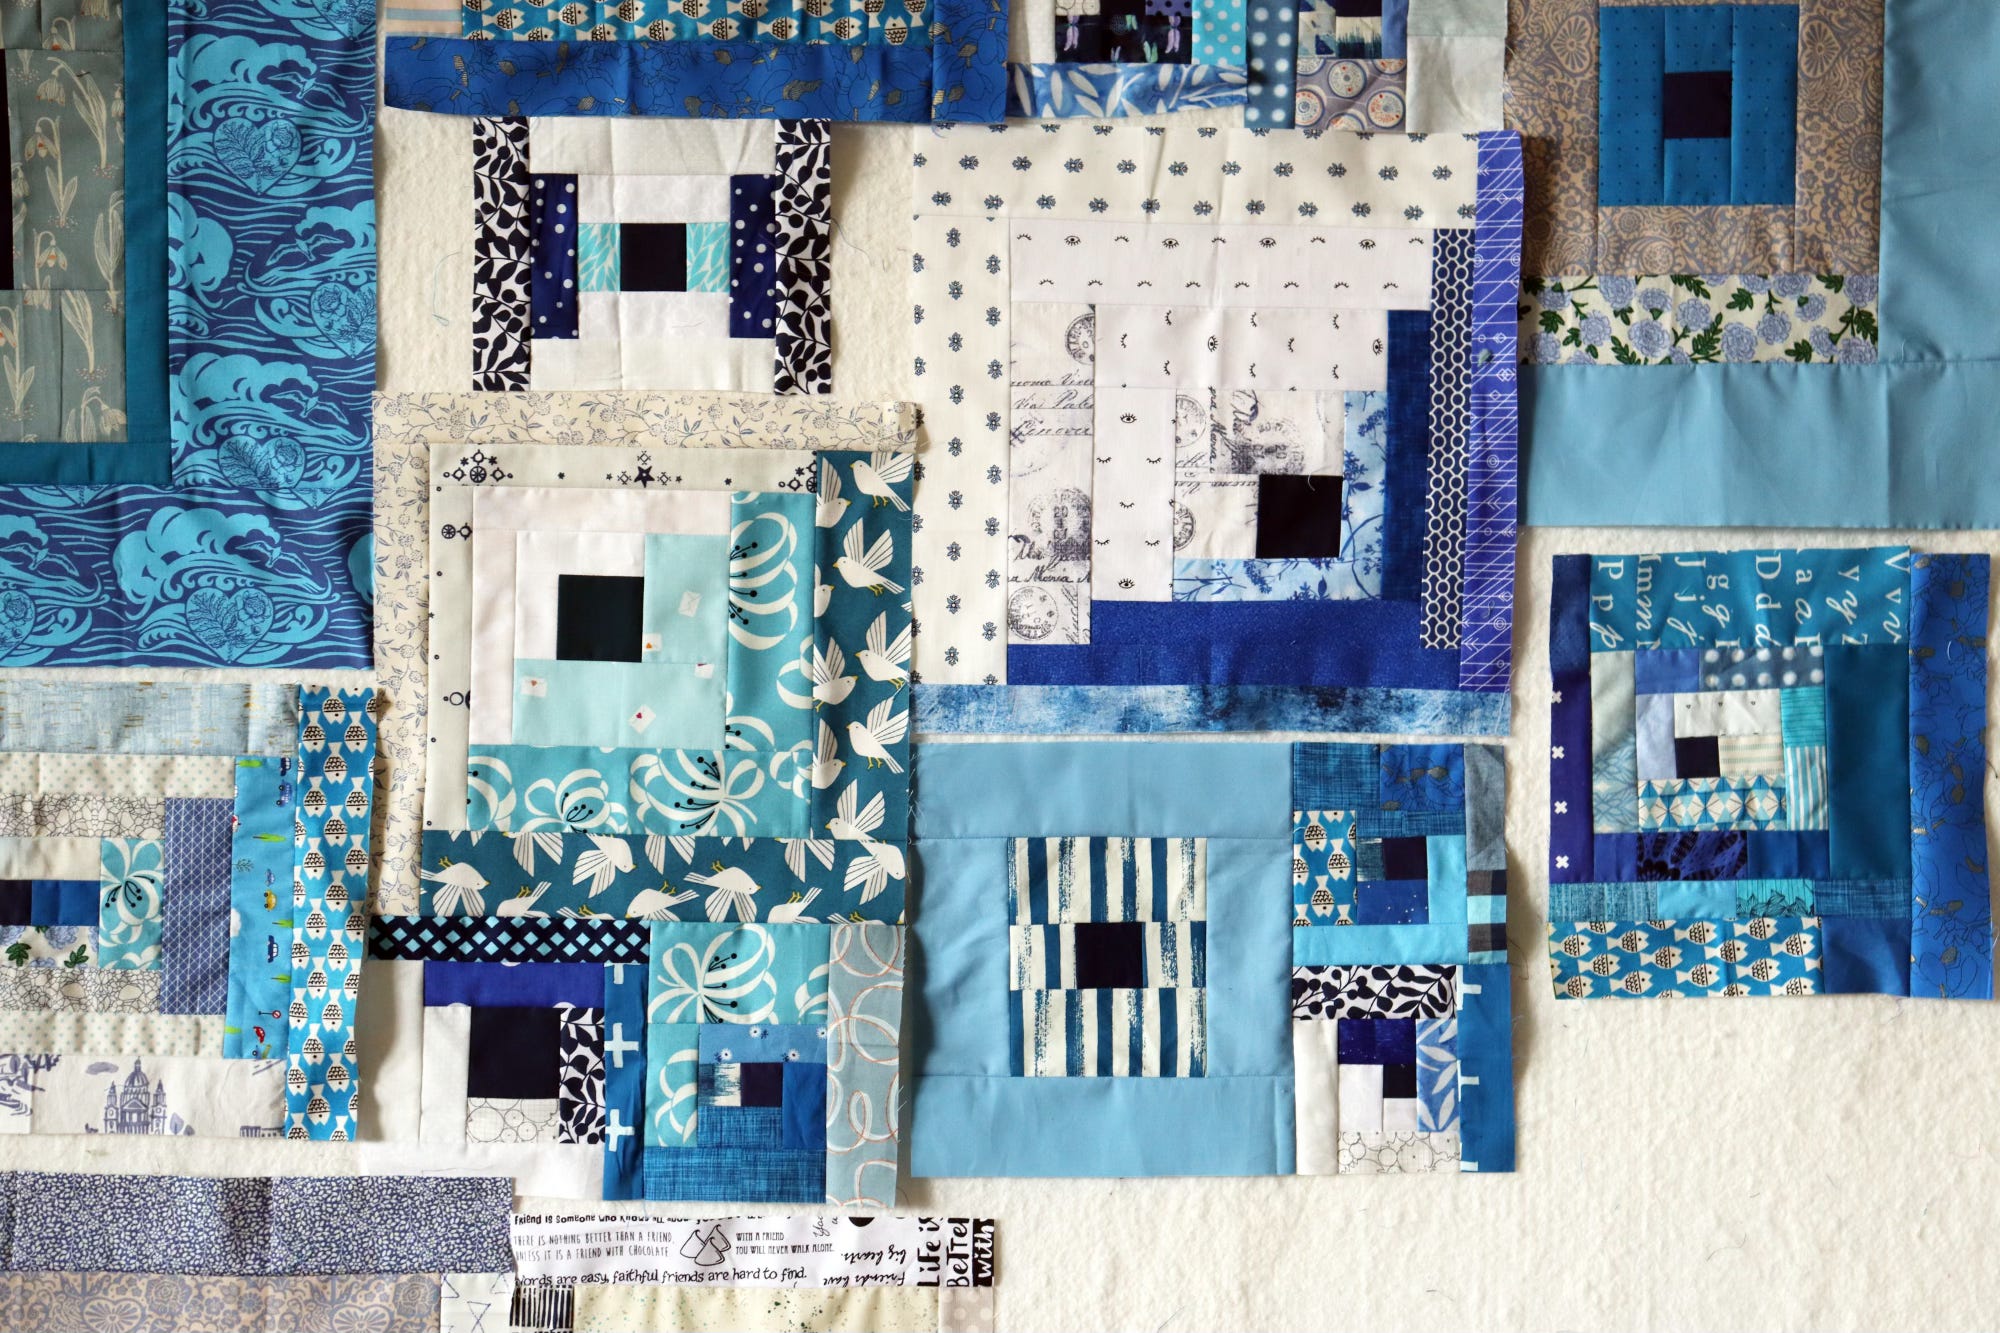
Here in the quilt center something similar occurs. I have already joined the tiny blocks with each other and with neighboring bigger blocks. Now I want to create two small columns. I will add fabric where there are gaps to equalize blocks so that they can be joined together.
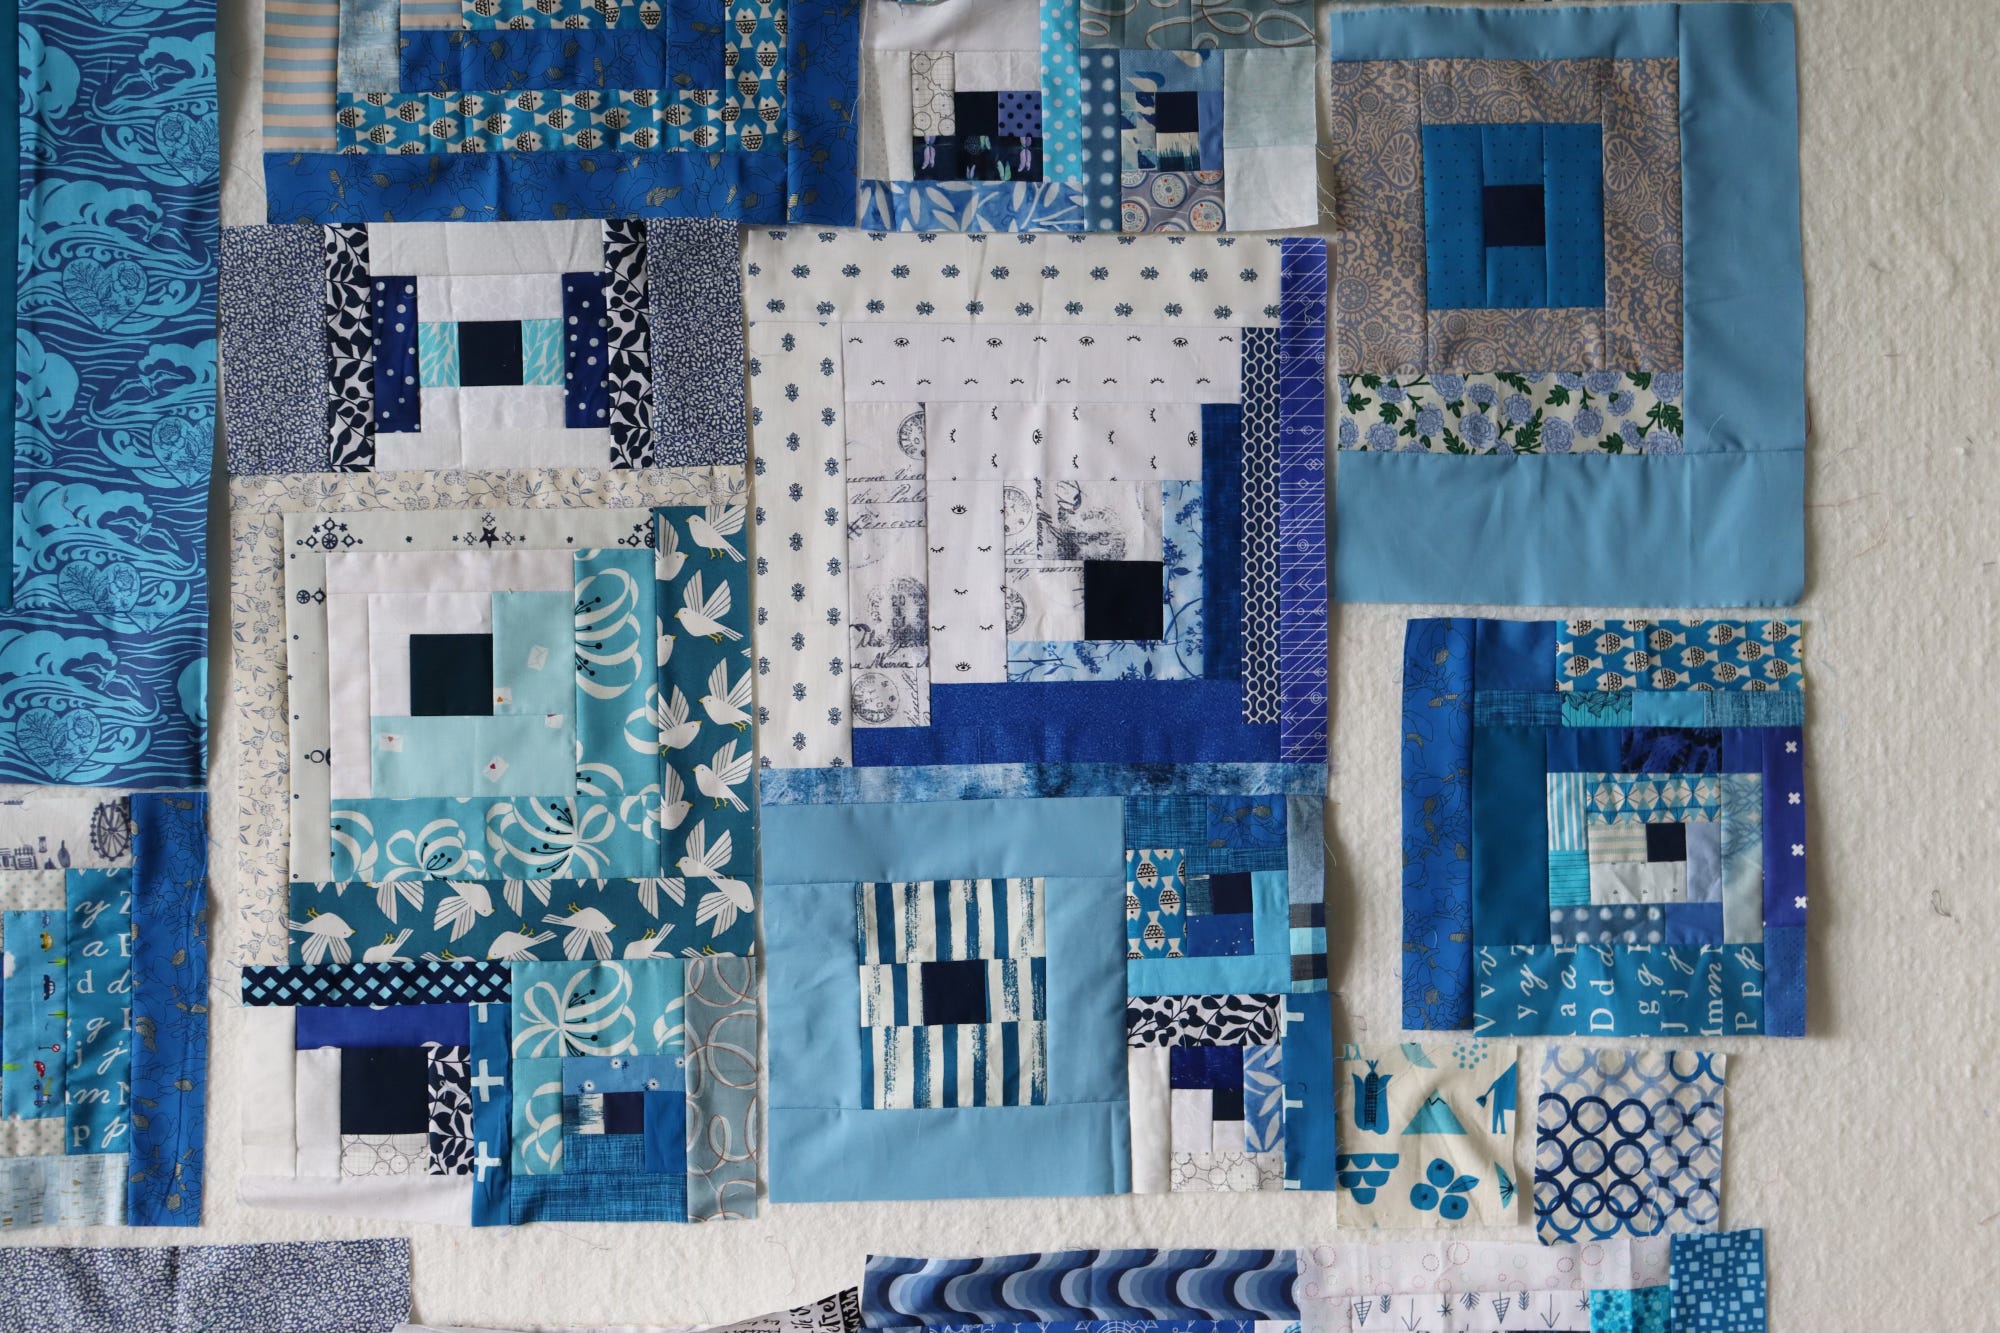
See? Now I have two short columns of about the same size, ready to be joined together.
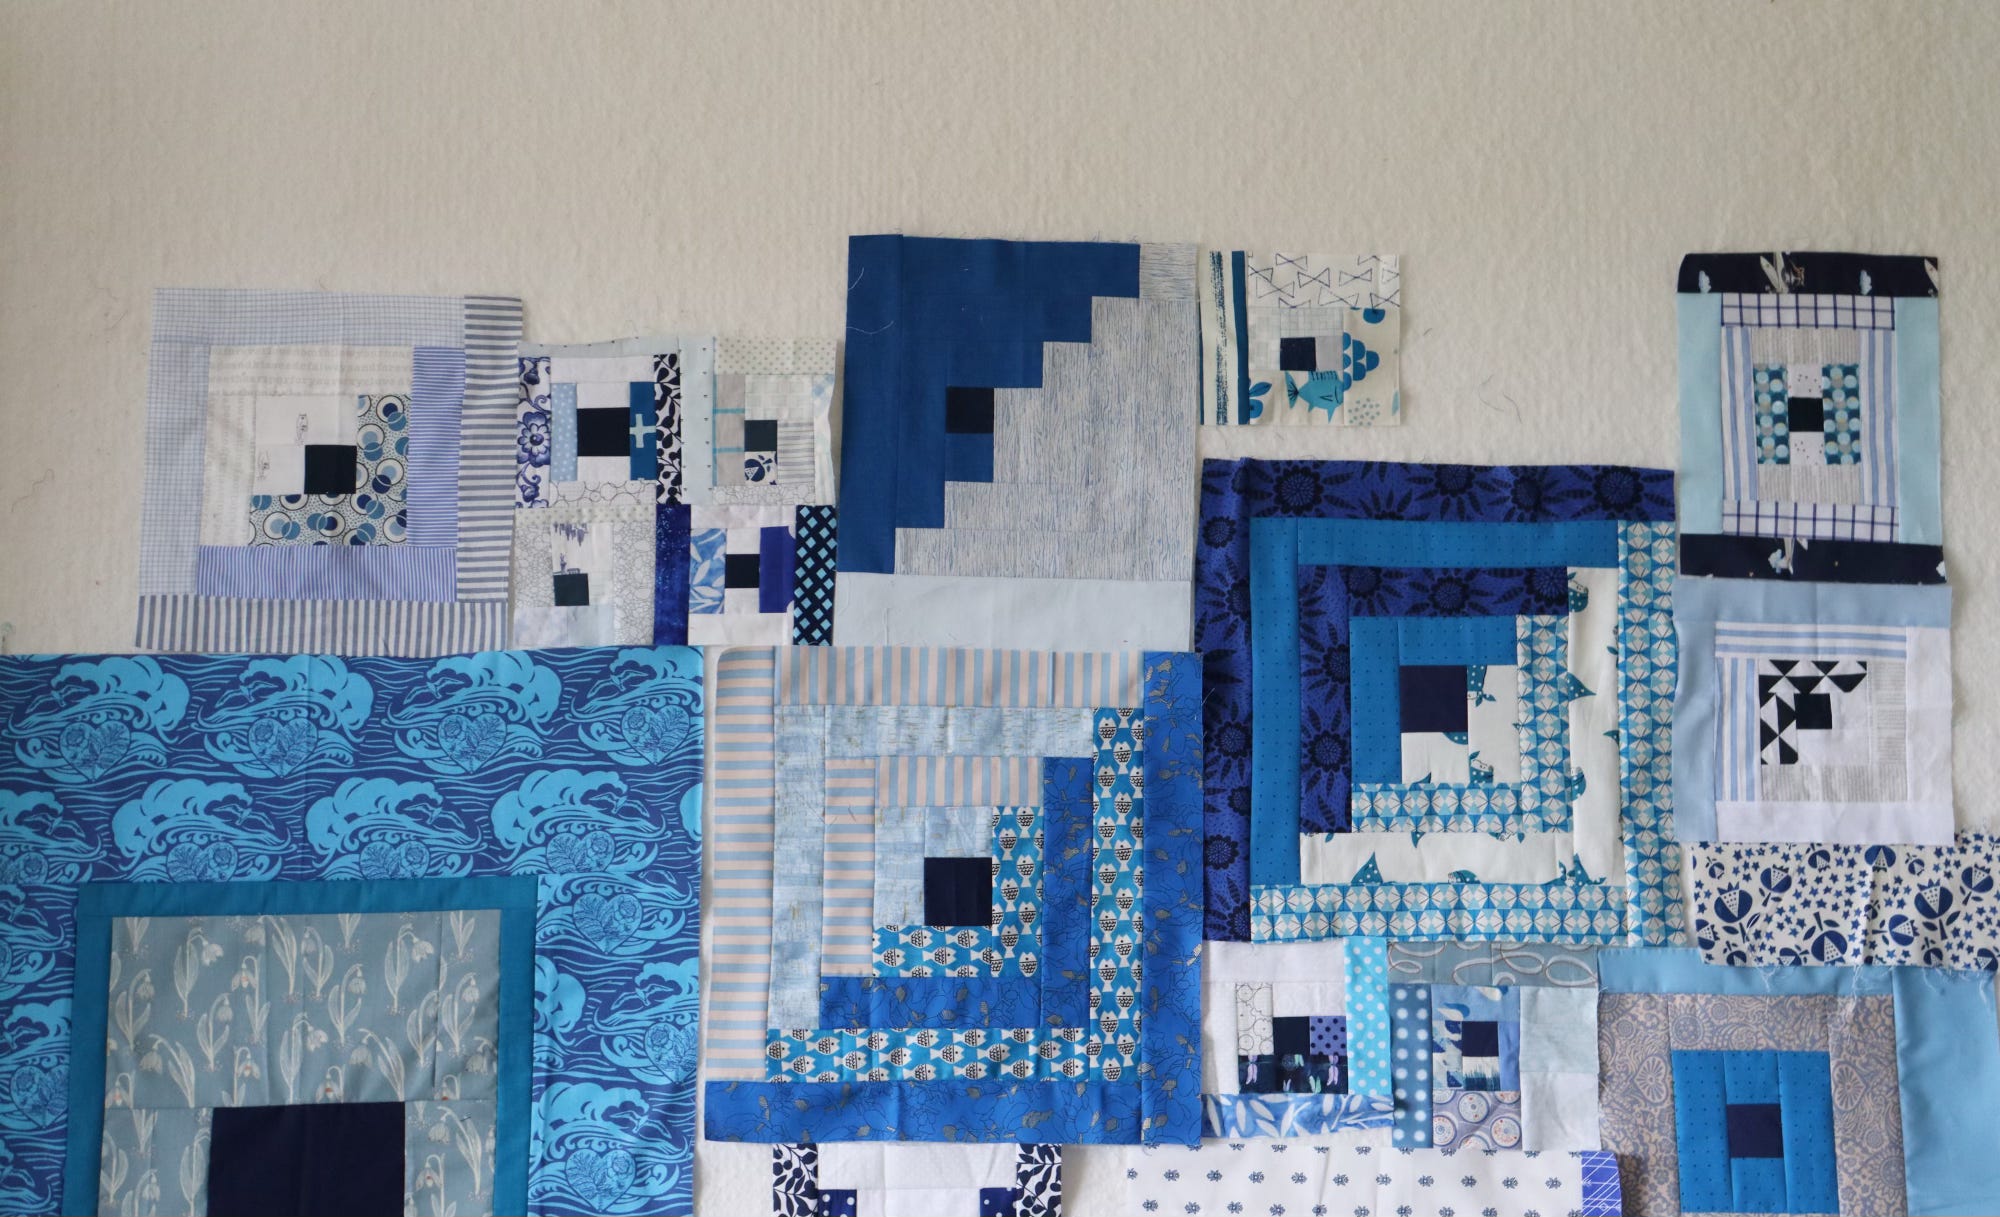
There is a big gap near the top right corner of the quilt. I’ll make a new, simple block for the big gap and add fabric in all the little gaps to equalize pieces.
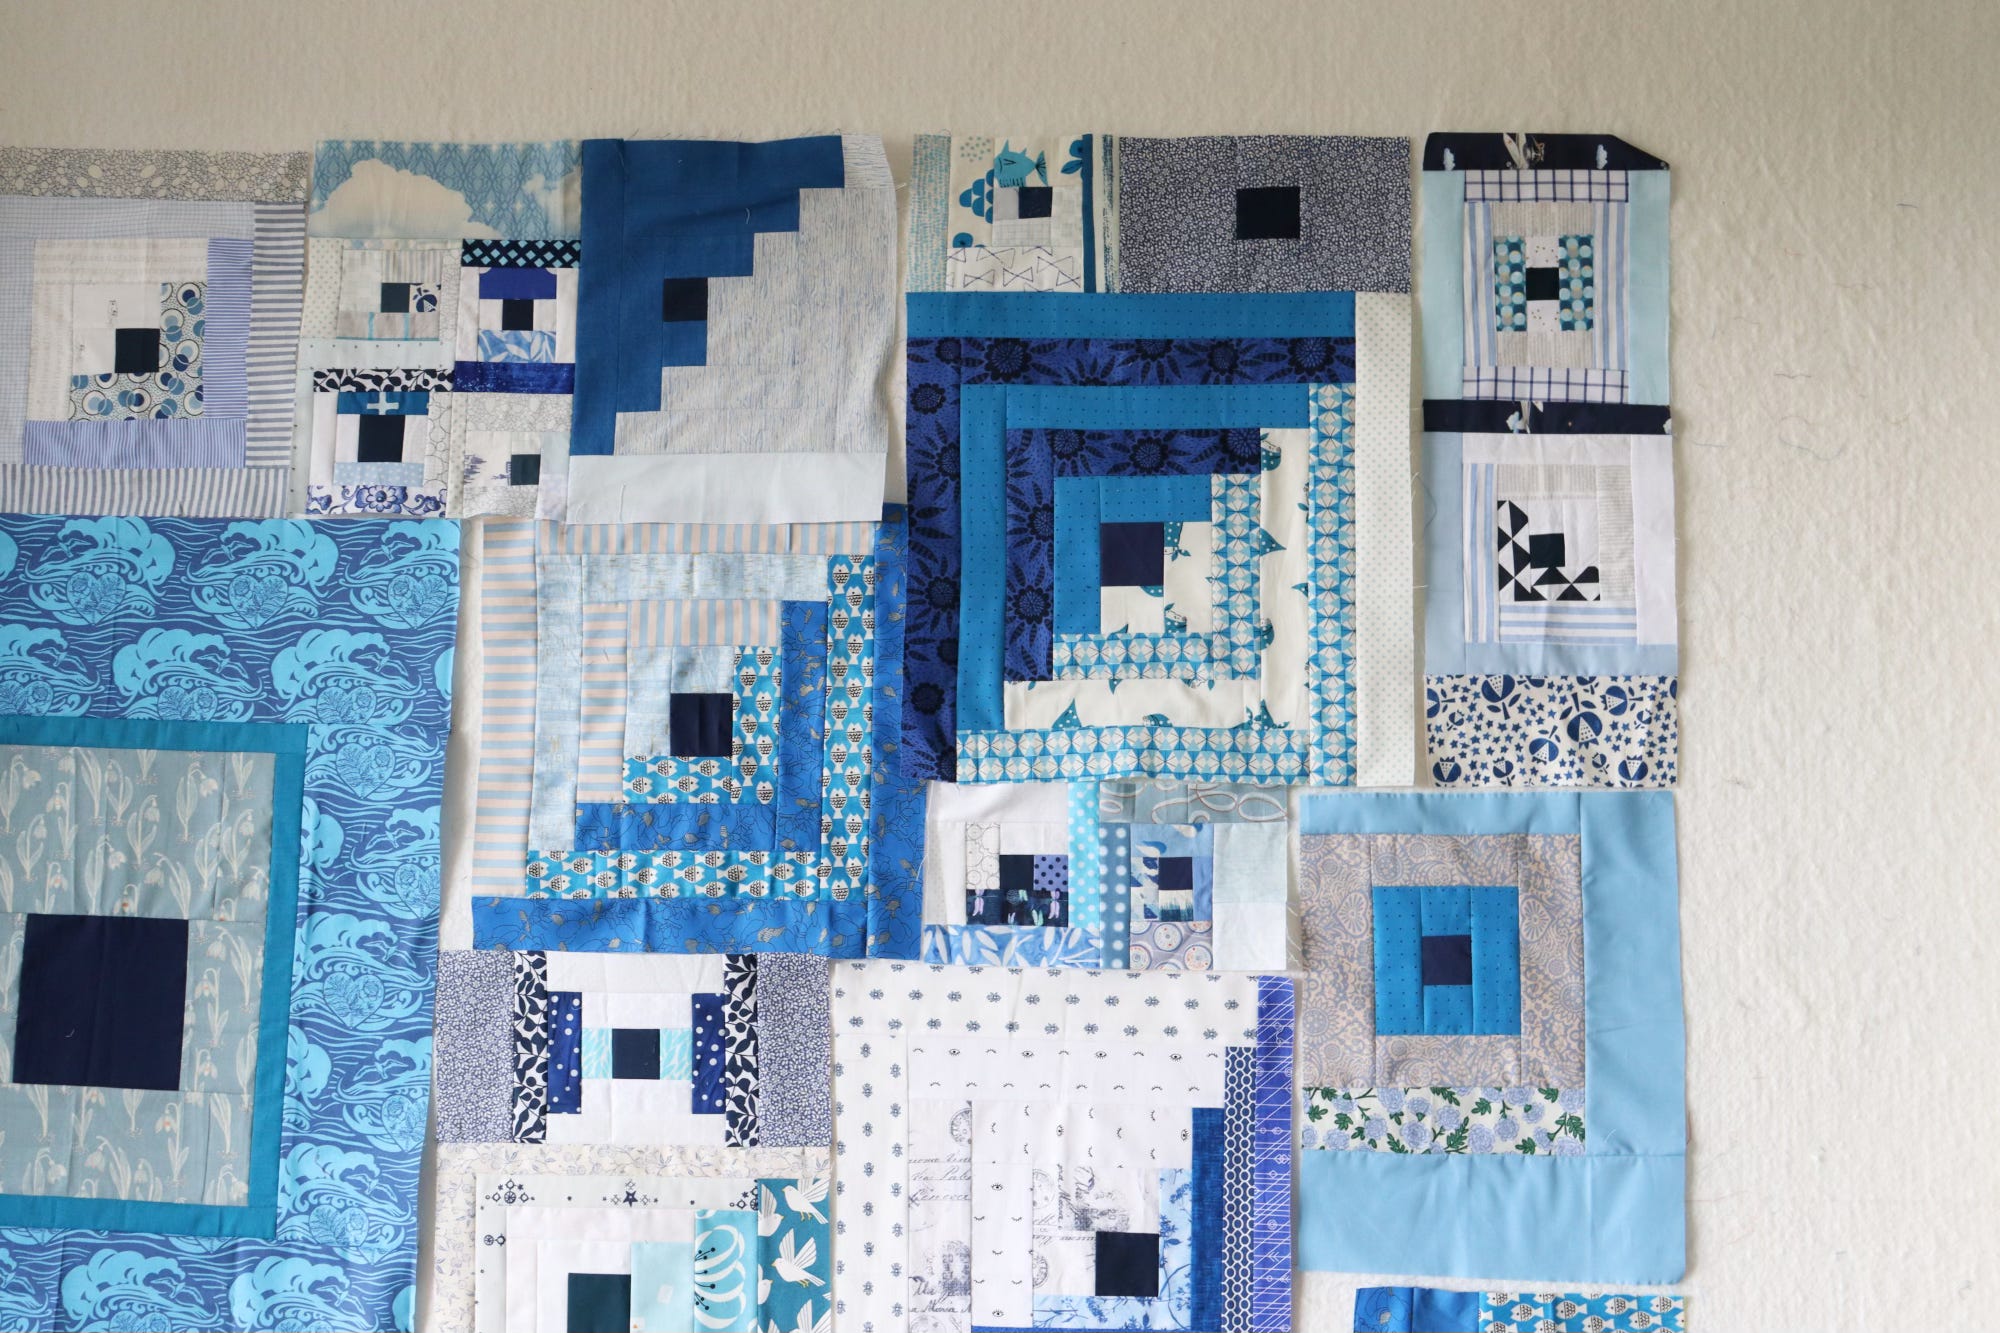
TODAY’S STITCHED IN COLOR IS BROUGHT TO YOU BY~
Quilt Sandwich
Treat yourself to a beautiful curated bundle, radiating good summer vibes! From left: Villa Sol, Fisherman’s Village and Floral Reef.


My default is always to enlarge pieces so that they are equal to their neighbor blocks. Then I join them together. The alternative is to first join unequal sizes blocks and then trim off excess fabric from the bigger block, but such an approach shrinks the quilt at every step. Enlarging pieces, by contrast, requires me to use even more scraps. Win-win!
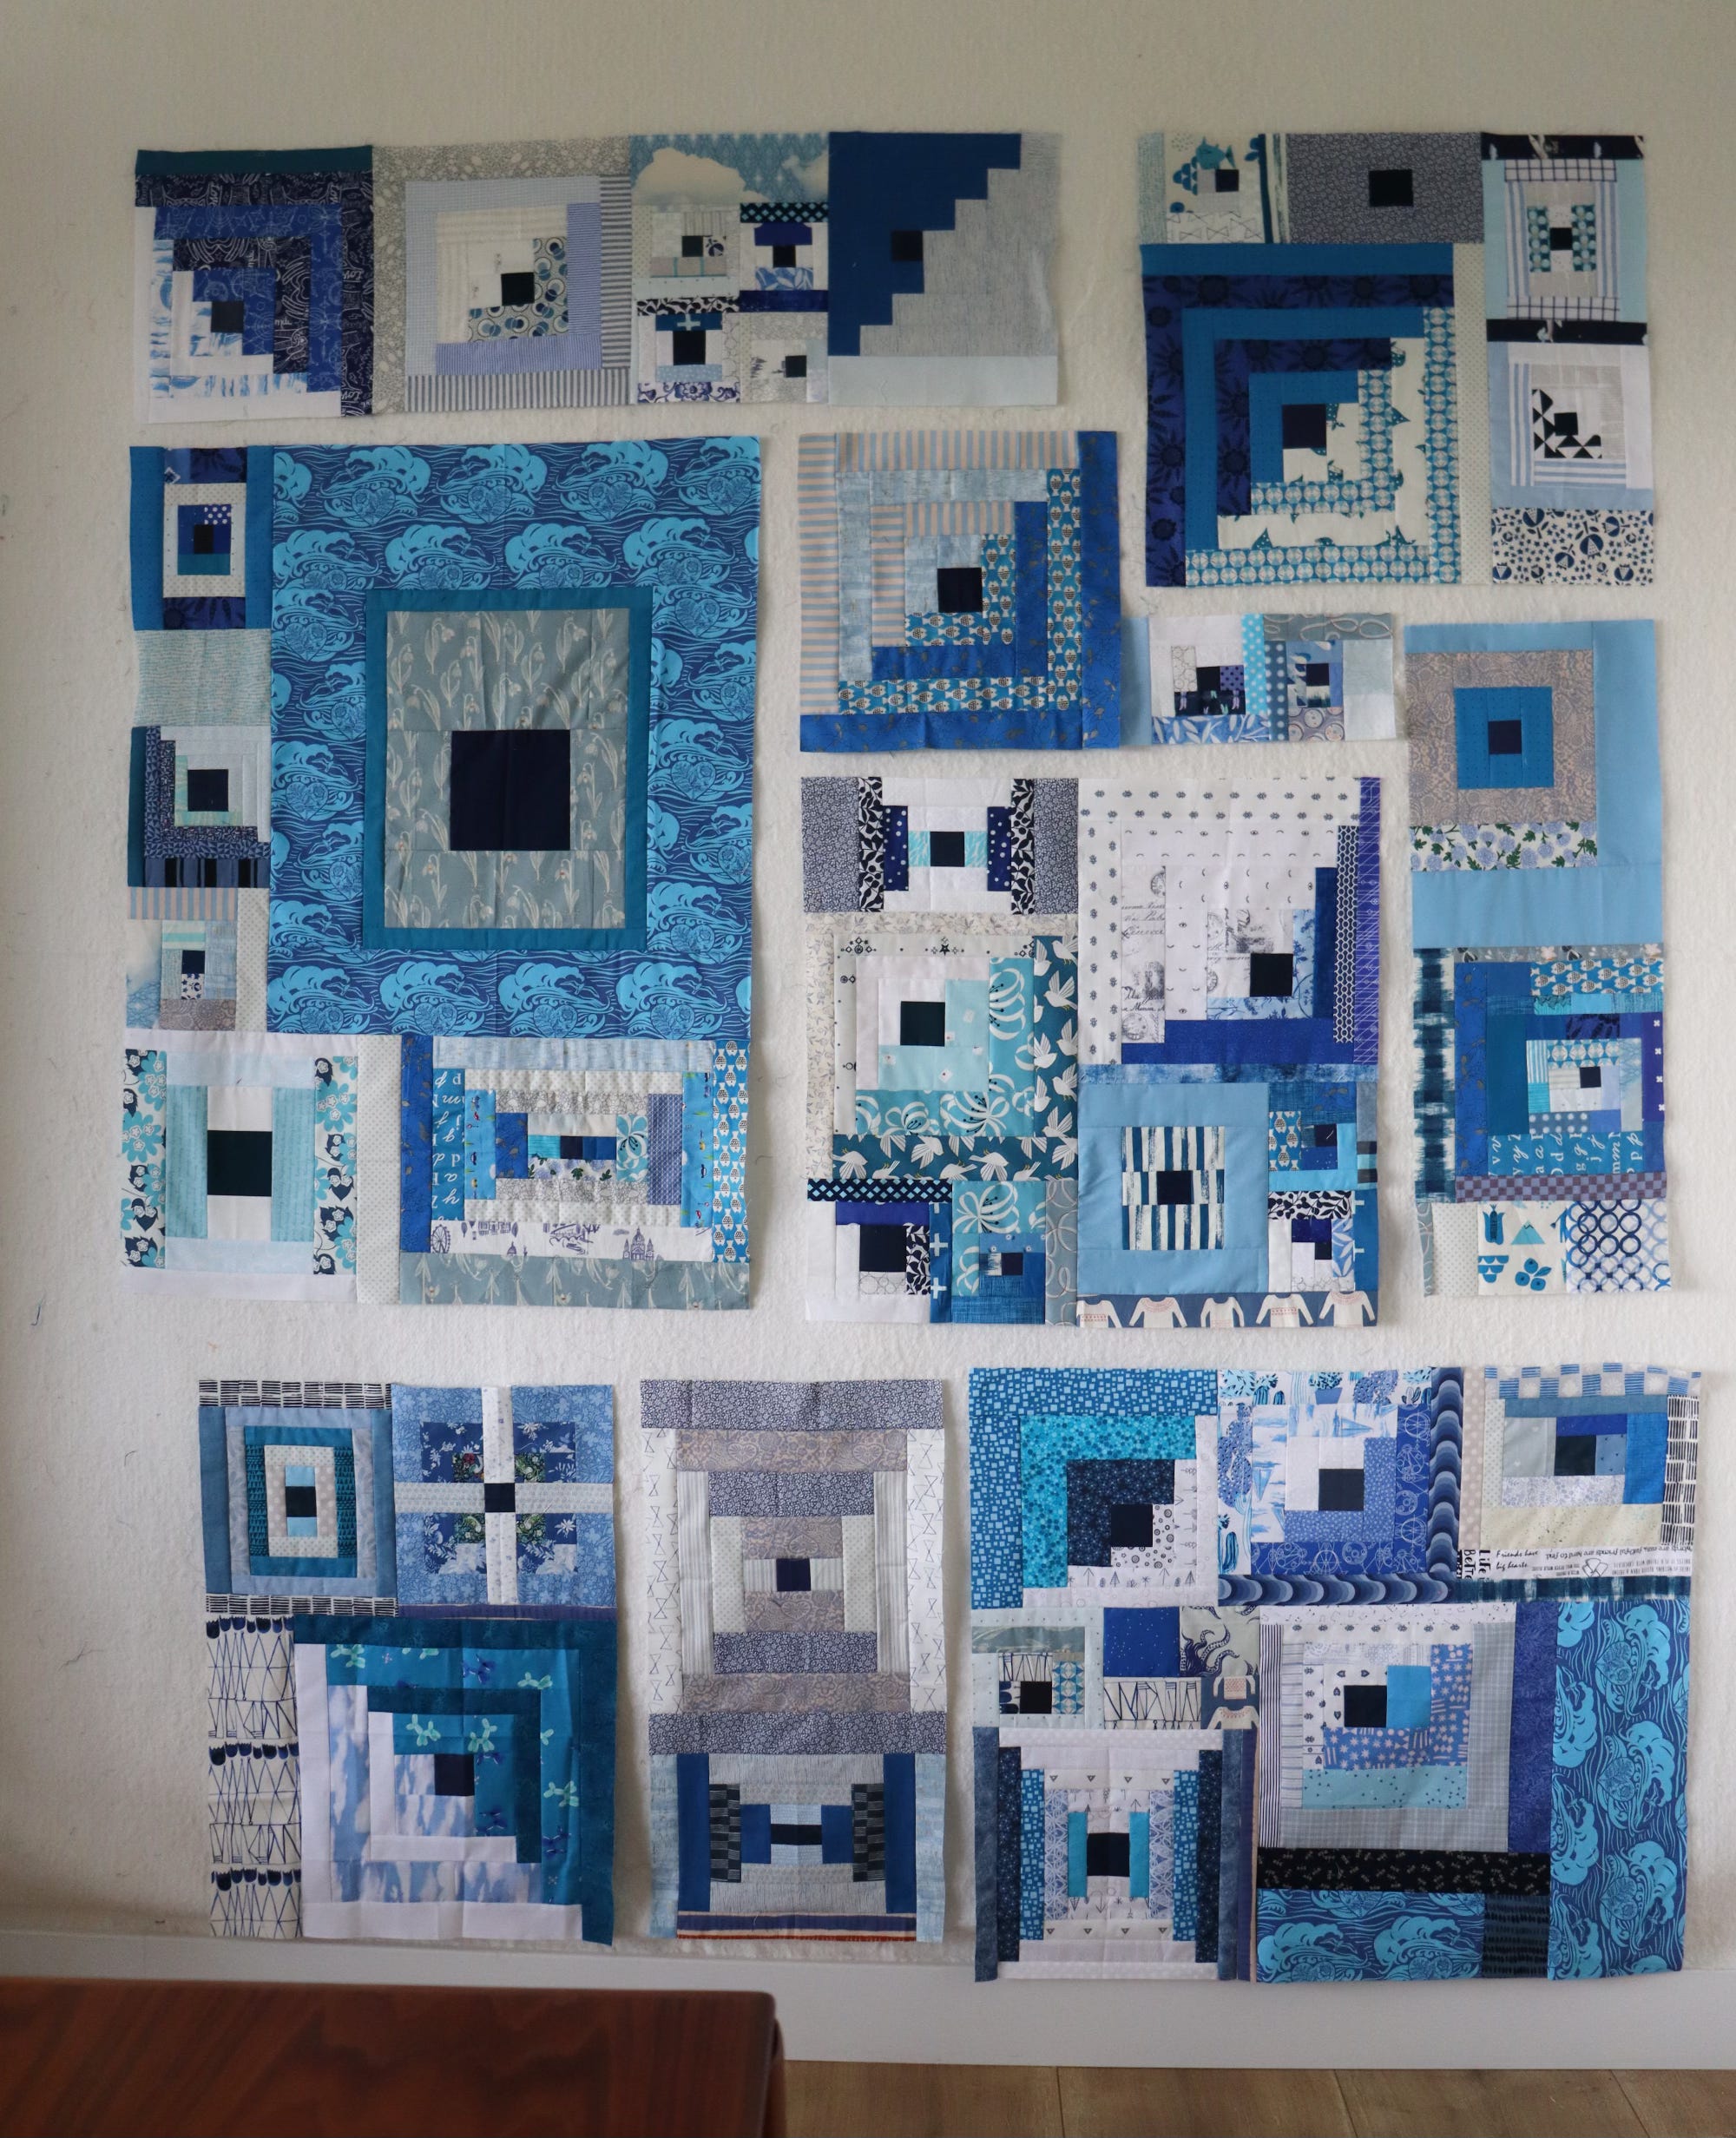
Here is my quilt top in progress. The bottom three sections can now be equalized and joined as one row. However, the upper half of the quilt is less straightforward. Because of the unusual alignment of blocks, I need to sew a partial seam in the top right quadrant.
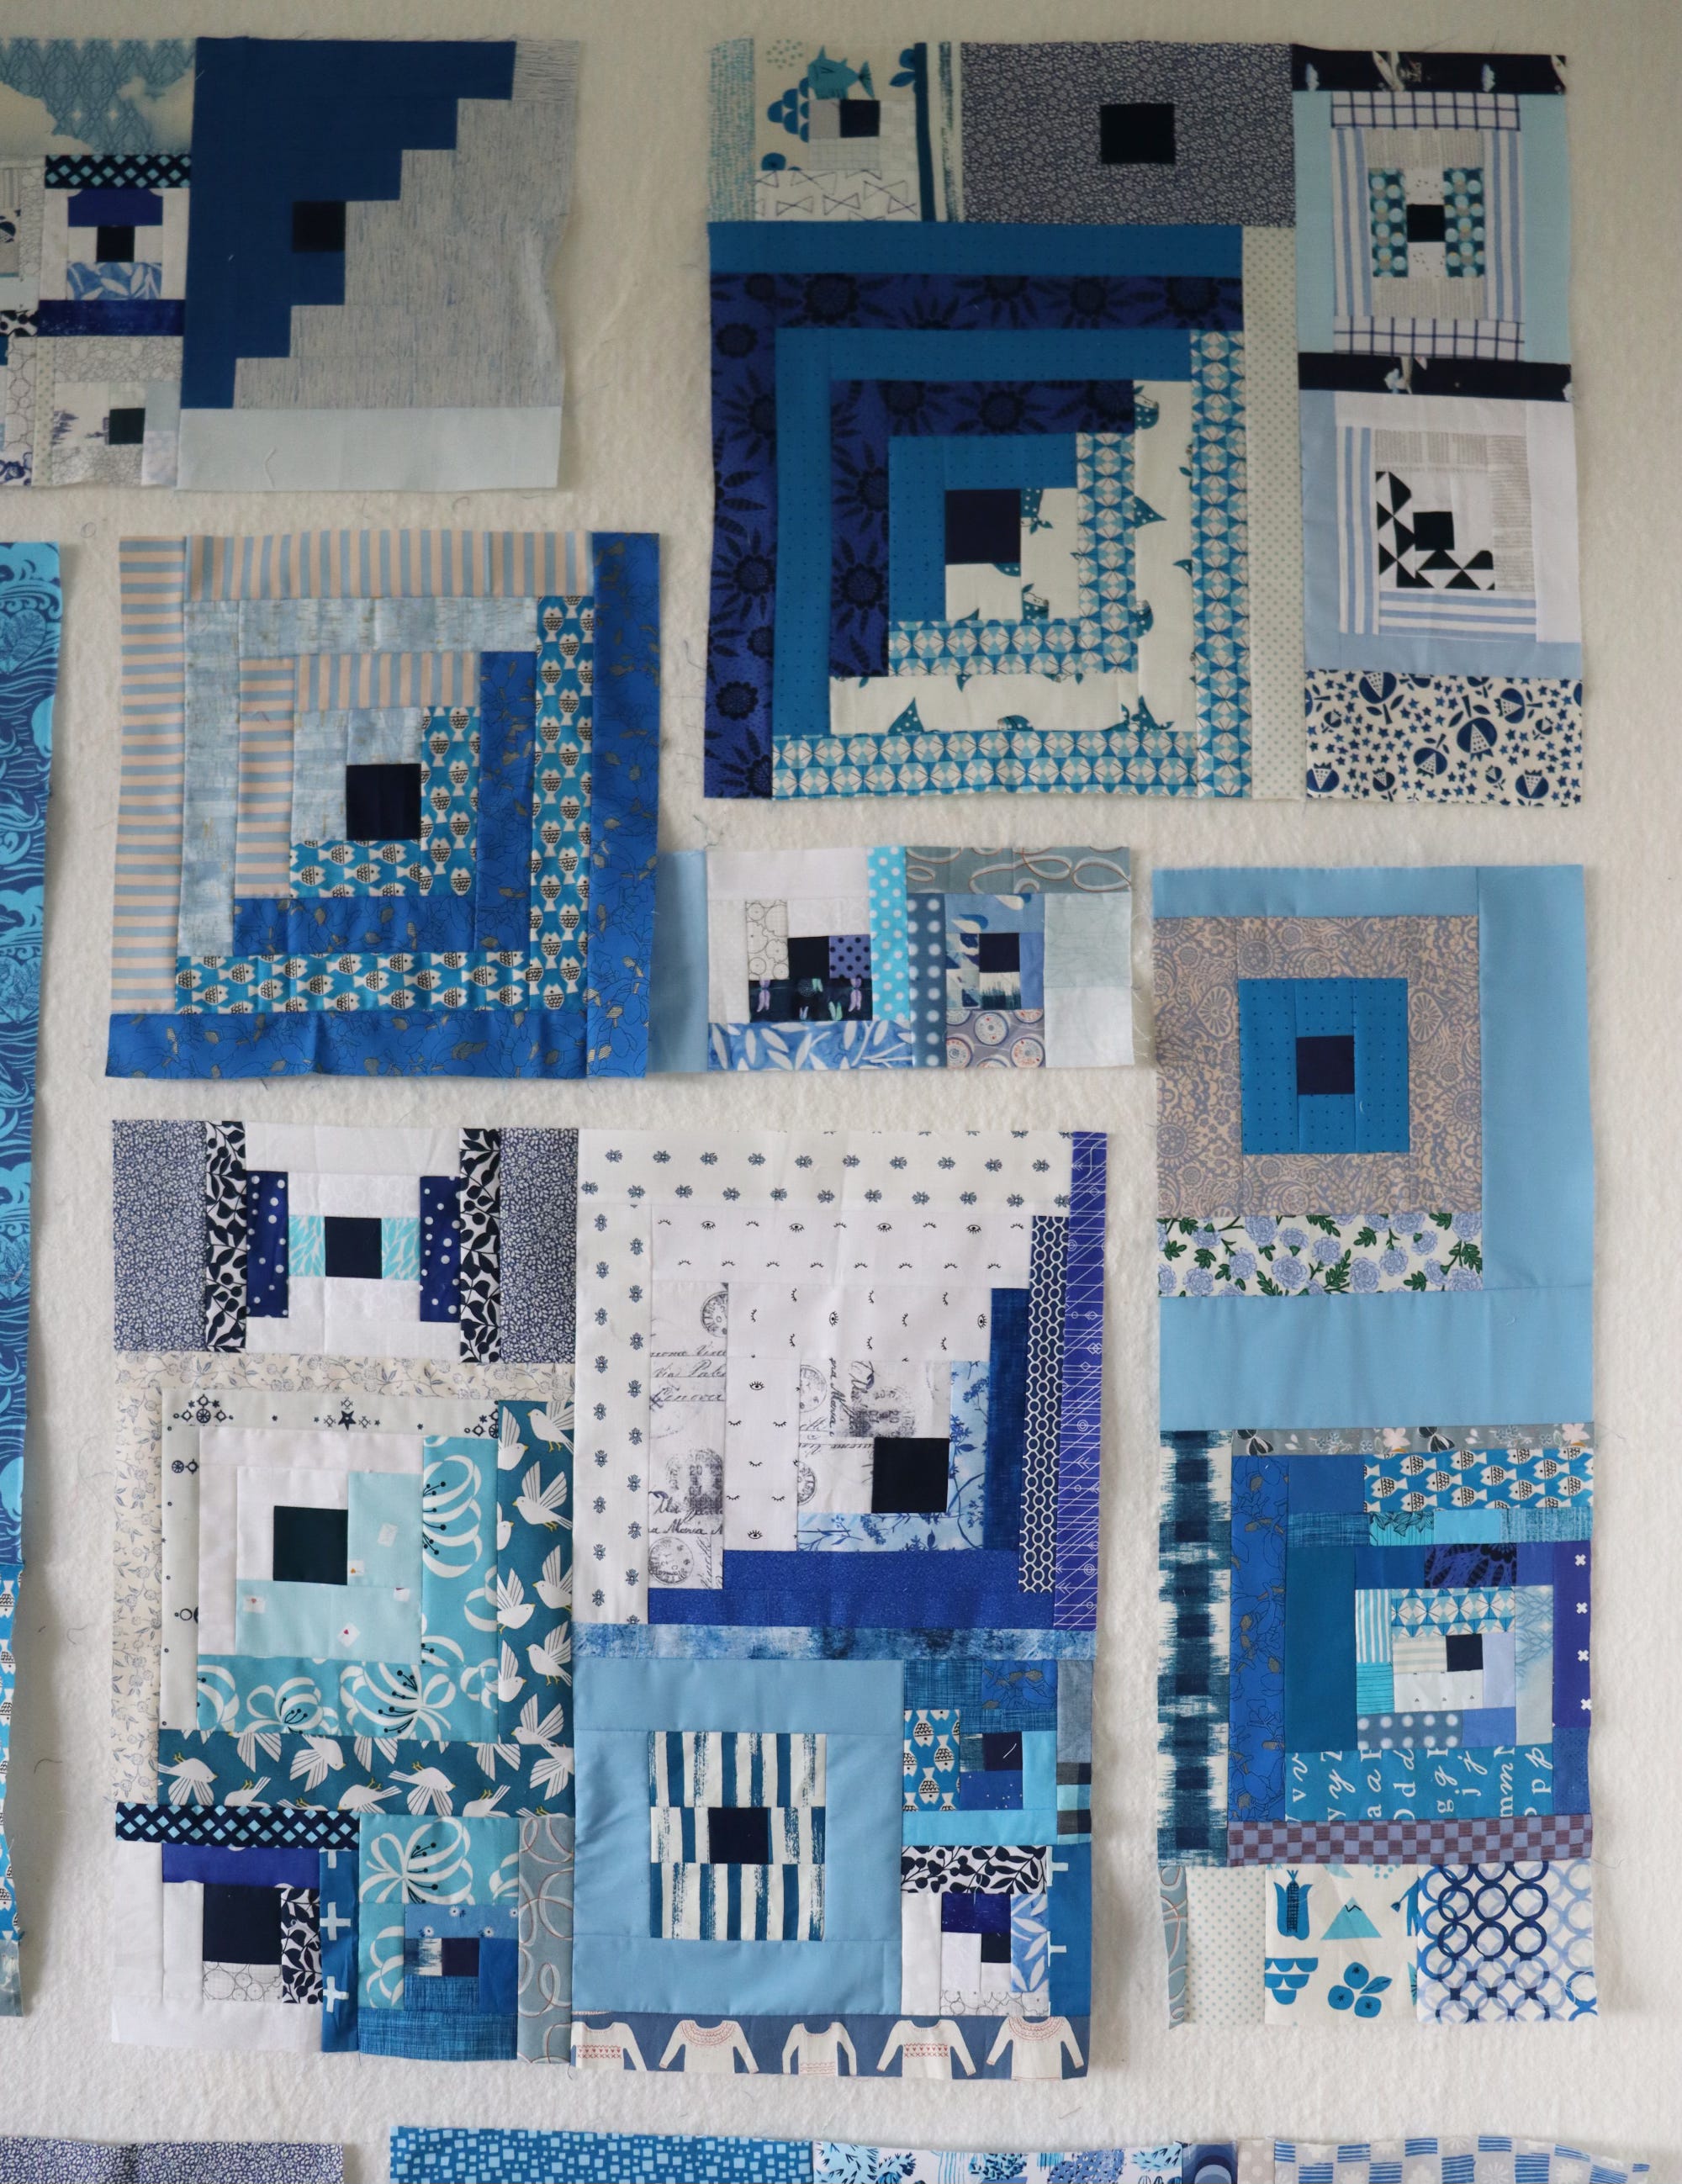
Here’s a close-up of the partial seam area. Look for the pair of small blocks. That pair needs to be joined with a partial seam to the large Circus Cabin block at left. A partial seams is necessary when the two raw edges are not the same size now, but will be the same size later, when I have joined neighboring sections.
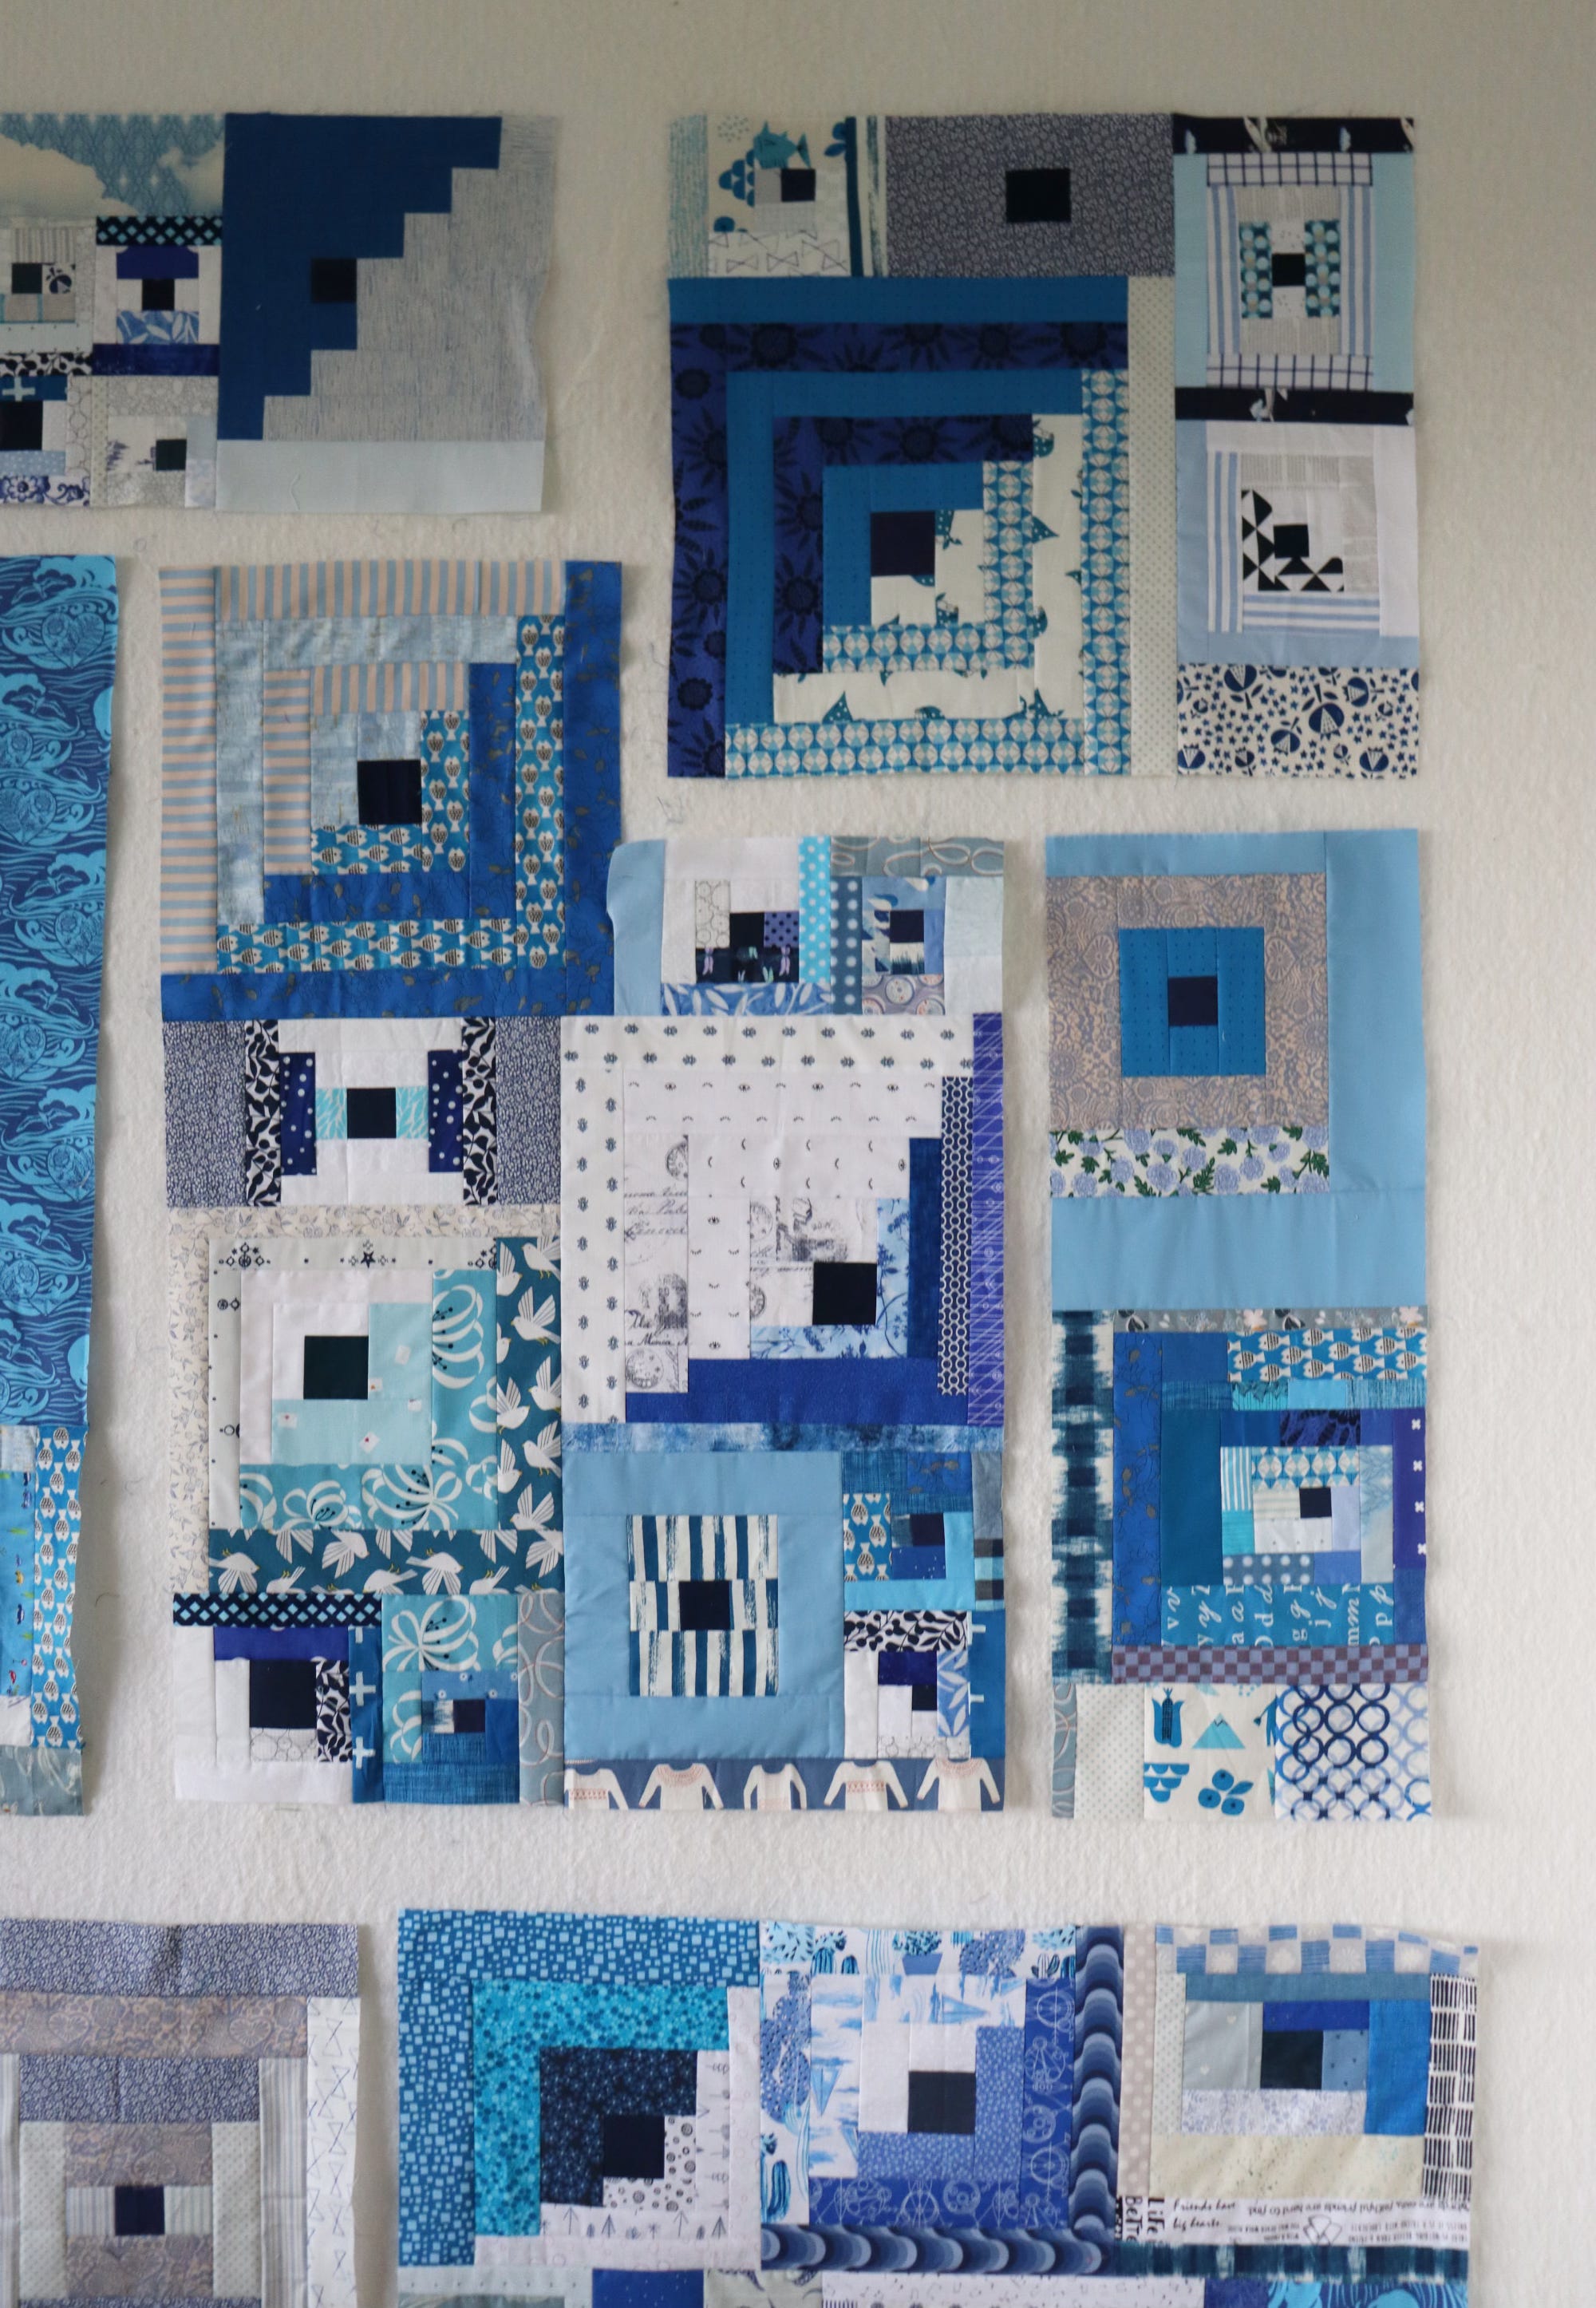
After creating that partial seam, I have joined the Circus Cabin/tiny blocks to the section below. Now I can also join the column on the right to the work-in-process. After that, I will be able to join the top right square section as well. And so on and so forth, until eventually I can complete the partial seam.
Clear as mud? If you are interesting in learning this skill, I do teach partial seams in the assembly stages of Positivities and Pas de Deux. Once you use partial seams a few times, you’ll understand the potential and be able to visualize how to use it to your advantage for improv patchwork like this.
Back with a finished quilt soon!
Thanks so much for this detailed illustration. I have done something similar before but it helps to SEE the process.
Love seeing this come together!